Getting-started on MAP API Back End
Setup local development environment
Disclaimer
This guide only covers IntelliJ, other IDEs may differ.
Prerequisites and Tools
You’ll need a `JDK`_ to start developing, some IDEs (e.g. IntelliJ) allow you to just select the jdk you want to use and handle everyting else on their own.
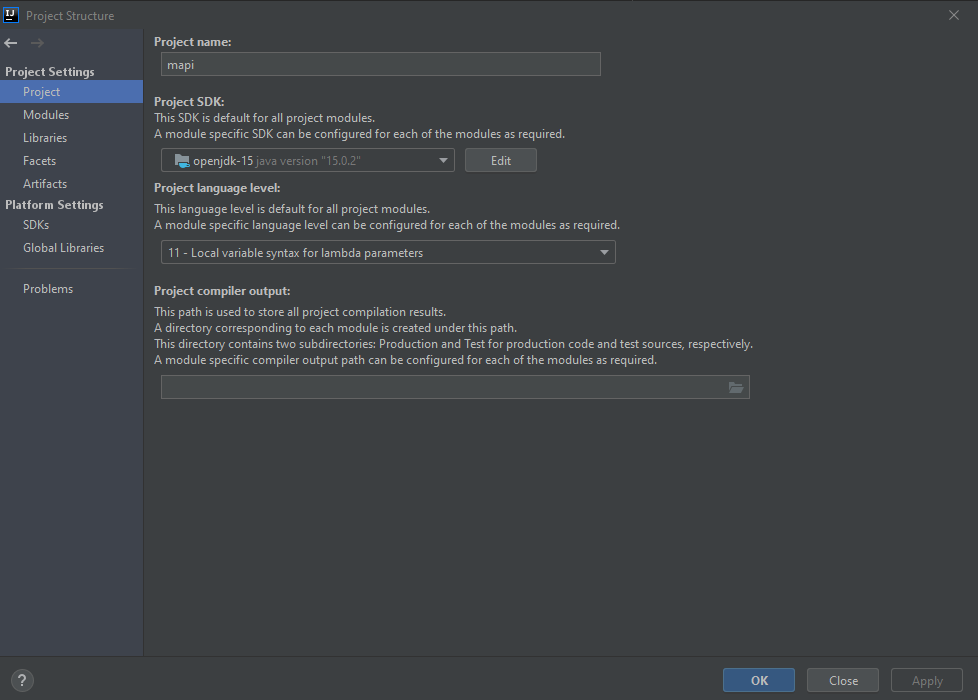
The projects JDK version is 11 (LTS). But up till JDK-15 there wasn’t an issue to select a newer JDK. Just select the project language level 11 under File | Project Structure | Platform Settings | SDKs.
Tools
As of now the only tool used is IntelliJ, you may consider installing the plugin SonarLint to keep your code smells in check.
Getting started
Select the branch you want to work on, click the clone button and copy the URL under “HTTPS”. You can find the MAP API repository here.
Open your IDE, select the option “Get From VCS” and enter the URL there to create a new project on your system. You will have to enter your kiz login credetials for this GitLab instance. In Intelli J it works as follows:
Alternatively you can clone your project directly with git in your shell and import it as existing project later in your IDE:
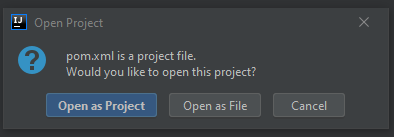
Your IDE will probably recognize that maven was used to build this project, if the maven logo shows up on the right side of the editor window a simple click will start the necessary imports. If not close the project again and use the “Open” option when creating a new project. If you select the file
pom.xmlin your previously clone directory and hit “Open” your IDE will ask for confirmation to open the corresponding project, affirm this by clicking on “Open as Project”
Congratulations! You have successfully imported the MAPI project. In the following part you will learn how to run each of the submodules (Node Updater, run-nodeprinter, run-server) on which you are working on.
How to run the submodules?
Node Updater
Since the Node Updater communicates with the MySQL database to upload the QR code nodes some connection and credential details are required. Without these details, the Node Updater will immediately terminate after its start. For further information please read the documentation part about Important options and arguments. If you forget to pass necessary options with their value the Node Updater will inform you about the forgotten information on your console.
Now let’s talk about how we can start the Node Updater properly for the first time. For this purpose, we must create a run configuration.
1. To do this most conveniently, just navigate to the Node Updater’s main class.
You can find the main class in the project’s root under nodeupdater > src > main > java > de.uni_ulm.informatik.uniapp.nodeupdater > main > Main as shown here:
Node Printer
The NodePrinter does not require any special settings for execution. The main class is located in nodeprinter>…>nodeprinter>StartApplication.java. A more detailed description about the NodePrinter can be found in this documentation in the section Development>Map API.
REST server
The server manages all REST ressources. There are ressources for node retrieving and for navigation. Nodes are scanned within the university. By scanning an QR Code the device calls the server with the url https://uniapp.informatik.uni-ulm.de/mapi/v0/node/NODE_ID. If the app is installed on the device it directly will show the position of that qr code, otherwise it will navigate to the UniApp homepage where the download of that app is possible. The NodePrinter uses these ressources to create a template for that qr codes. The navigation is implemented with the GraphHopper framework. Read more about it in the `Indoor Navigation`_ chapter. For further information please read the documentation part about the REST API server in the documentation section Development>Map API.
How to build JARs of the submodules?
If it is necessary to generate an executable JAR file of a submodule (Node Updater, Node Printer, or REST API server) for testing purposes this part of the documentation will guide you through this process.
Note
Please note, that this guide was performed and tested on the IntelliJ IDE. Thus, this process may be slightly different in other IDEs. However, since we are using the Maven build tool, this process will not be fundamentally different in other IDEs.
1. The MAPI project uses the Maven build tool, which is automatically detected by IntelliJ. For this reason, IntelliJ displays a Maven button on the right side. Please click on the Maven button to open it’s tool overview:
You are in the main class, the starting point, of the Node Updater. Then click on one of the existing “play buttons” and follow these steps:
A context menu appears. Click on
Modify Run Configuration...Click on the
Nametext field and type in your preferred name for this run configuration.Type in at least the following options in the
Program parameterstext field with their value:-h,-p,-u,-pw. For more information read the part about Important options and argumentsDelete the existing value in the
Working directorytext field and use the value%MODULE_WORKING_DIR%instead.
Now you have a valid run configuration. Just run it directly in the main class or select it on the upper toolbar on the right side:
Todo
@cm: Write something about how to start the Node Printer at the first time.
Todo
@michael: Write something about how to start the server at the first time.